How to Set Up Obfsproxy on Linux
In this tutorial we will show you how to set up Obfsproxy on Linux with CactusVPN servers but first let’s see what are our requirements.
Requirements
In order to set up the Obfsproxy you will need:
- A CactusVPN account. If you don’t have one you can try our services for free.
- Your VPN username and password. You can find them in your account on our website, by going to Settings -> VPN Username & Password.
- The OpenVPN client.
- The shapeshifter-dispatcher command line proxy tool.
Install OpenVPN and necessary packages
-
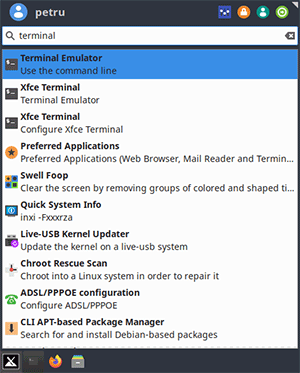
Open a Terminal window.

-
Type:
sudo su
Then enter your password.

-
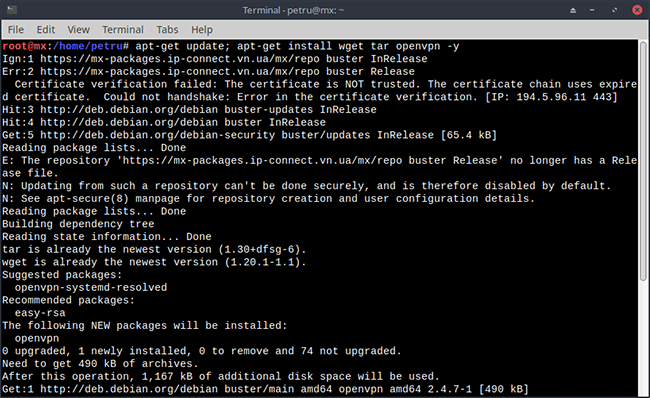
For Ubuntu/Debian systems type:
apt-get update; apt-get install tar wget openvpn -y
For CentOS type:
yum install epel-release -y; yum install tar wget openvpn -y

Find out your system’s architecture
You need to find out what system architecture you have to know which version of shapeshifter-dispatcher to run.
Type:
arch

Keep in mind the result, you will need it later.
Download and configure the shapeshifter-dispatcher client
In order to be able to obfuscate the VPN connection, you need to download, run and configure the shapeshifter-dispatcher command line proxy tool.
-
Type:
cd /root
-
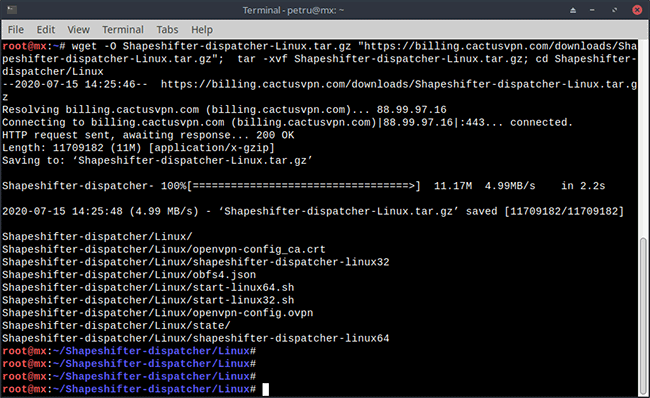
Then type:
wget -O Shapeshifter-dispatcher-Linux.tar.gz "https://billing.cactusvpn.com/downloads/Shapeshifter-dispatcher-Linux.tar.gz"; tar -xvf Shapeshifter-dispatcher-Linux.tar.gz; cd Shapeshifter-dispatcher/Linux

-
We will start Shapeshifter-dispatcher and will set up which VPN server will be obfuscated by entering it’s IP address.
Now is the time to use the info about your system architecture:
If you are using the x86_64 architecture – run start-linux64.sh.
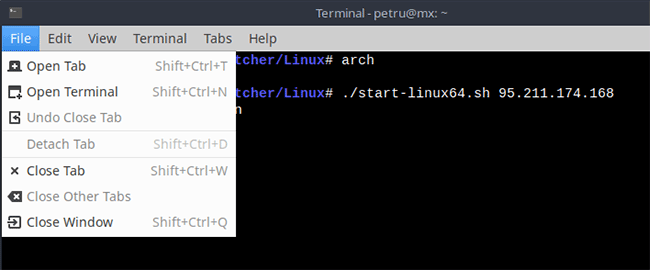
If you are using the i386 or i686 architecture – run start-linux32.sh.For example, if your system x86_64 and you want to use the Amsterdam1 VPN server, you should type:
./start-linux64.sh 95.211.174.168
If your system is i386 or i686 and you want to use the same VPN server, you should type:
./start-linux32.sh 95.211.174.168
You can find the whole list in Settings -> VPN Servers in your account on our website.

This will start the local client running in transparent TCP proxy mode and obfs4 transport which hides OpenVPN traffic.
Don’t close this window as long as you need to be connected to VPN.
Connect to VPN
Now, the only thing left to do to have an obfuscated VPN connection is to actually connect to the VPN server using the OpenVPN client.
-
Open a new terminal window.

-
Start the OpenVPN client and connect to the VPN server.
Type:
sudo su
-
Enter your password and type:
cd /root/Shapeshifter-dispatcher/Linux
-
Then type:
openvpn openvpn-config.ovpn
-
Enter your VPN username & password.
You can find your VPN username and password in your account on our website, by going to Settings -> VPN Username & Password.

The obfuscated VPN connection is established.
To disconnect, press Ctrl + c in both terminal windows and close them.
VPN and Smart DNS Services
Protect online privacy, secure your connection and access blocked websites
Try CactusVPN For Free